Electric Fencing Installation Guide – Step by Step
Introduction
Electric fencing is one of the most effective ways to secure residential, commercial, and agricultural properties. A well-installed electric fence acts as a deterrent, a defense system, and even an alarm system, keeping intruders and animals out while giving property owners peace of mind.
In this guide, we’ll cover the basics of electric fencing, the installation steps, and tips to ensure your system works safely and efficiently.
What is Electric Fencing?
Electric fencing uses a high-voltage pulse of electricity to deter intruders or animals from crossing a boundary. Unlike traditional fencing, it doesn’t rely only on strength, but on the psychological barrier created by the shock.
✅ Benefits of electric fencing:
Affordable compared to other high-security systems
Possible to install on most property types
Low maintenance
Works as a strong deterrent and alarm
Tools & Materials You Will Need
Before we start, we make sure we have the right equipment and material:
Energizer (controls the electrical current)
Insulated posts
Wire (galvanized steel or aluminium)
Tensioners
Earth spikes
Warning signs (required by South African law)
Safety gloves & tools
Step-by-Step Electric Fence Installation Guide
1. Layout is Planned
Measure the perimeter of the property.
Decide on the number of strands/height:
For homes: 6–8 strands
For farms: focus on overall height and spacing depending on livestock or perimeter security.
Check local regulations (in South Africa, electric fences on boundary walls must comply with SANS 10222-3 standards).
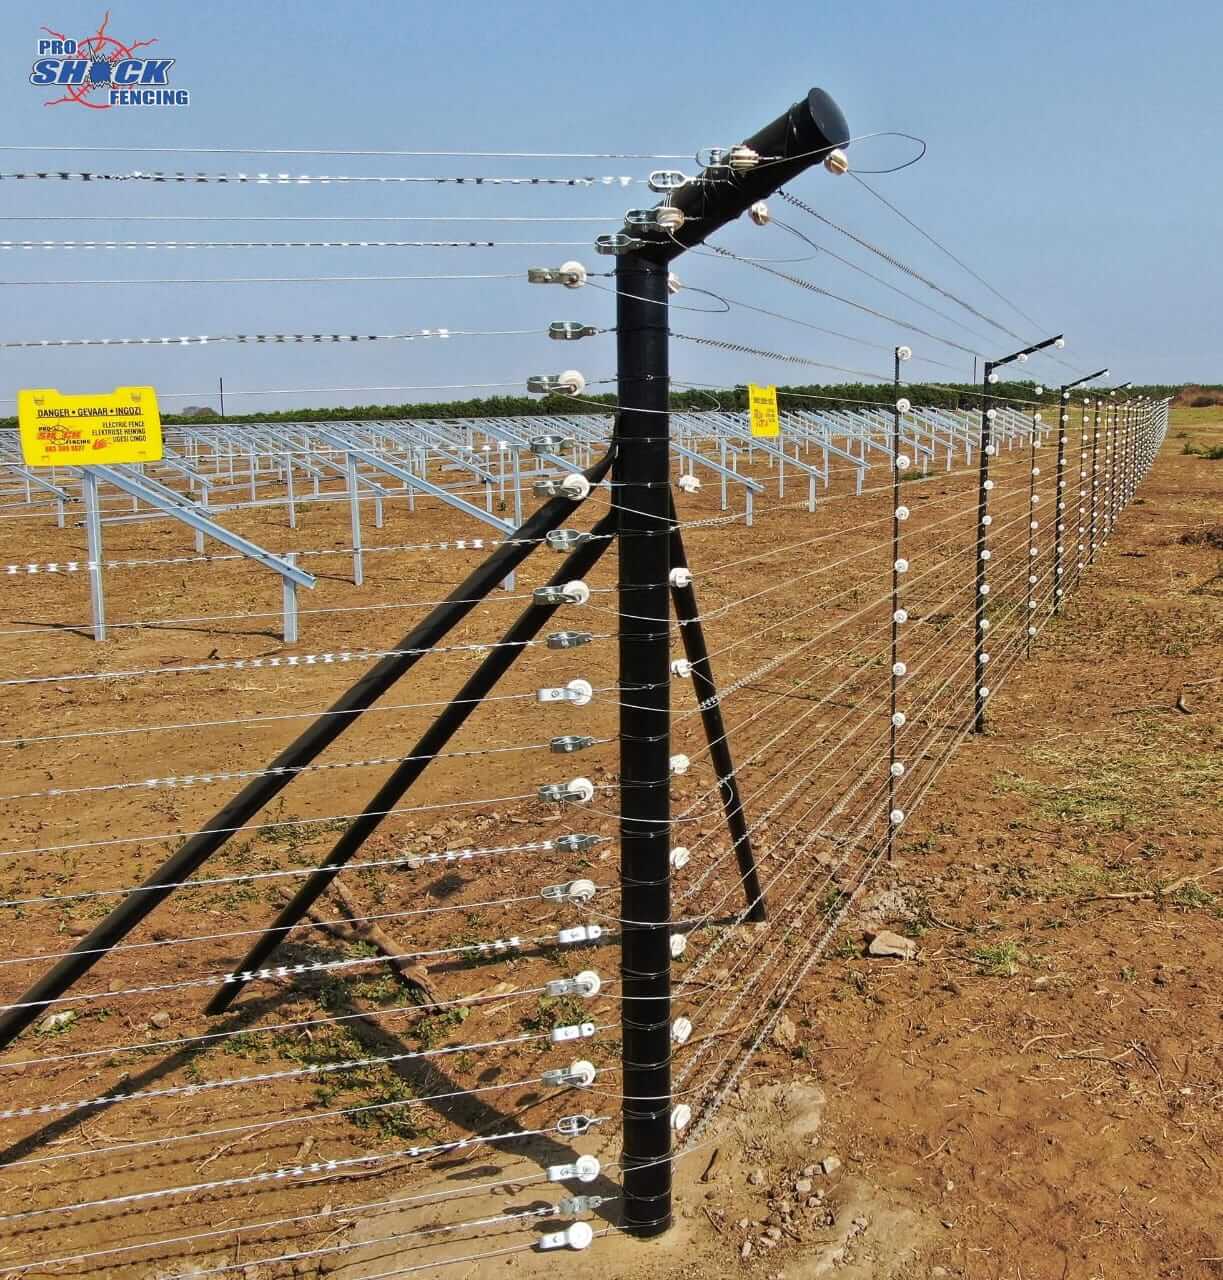
2. Install Fence Posts
Use strong corner posts (steel or treated wood).
Place intermediate posts every 3–5 meters for stability.
3. Add Insulators
Attach insulators to posts to prevent electricity from leaking into the ground.
Make sure they are aligned properly for straight wire runs.
4. String the Wire
Run galvanized or aluminium wire through the insulators.
Keep wires tight with tensioners.
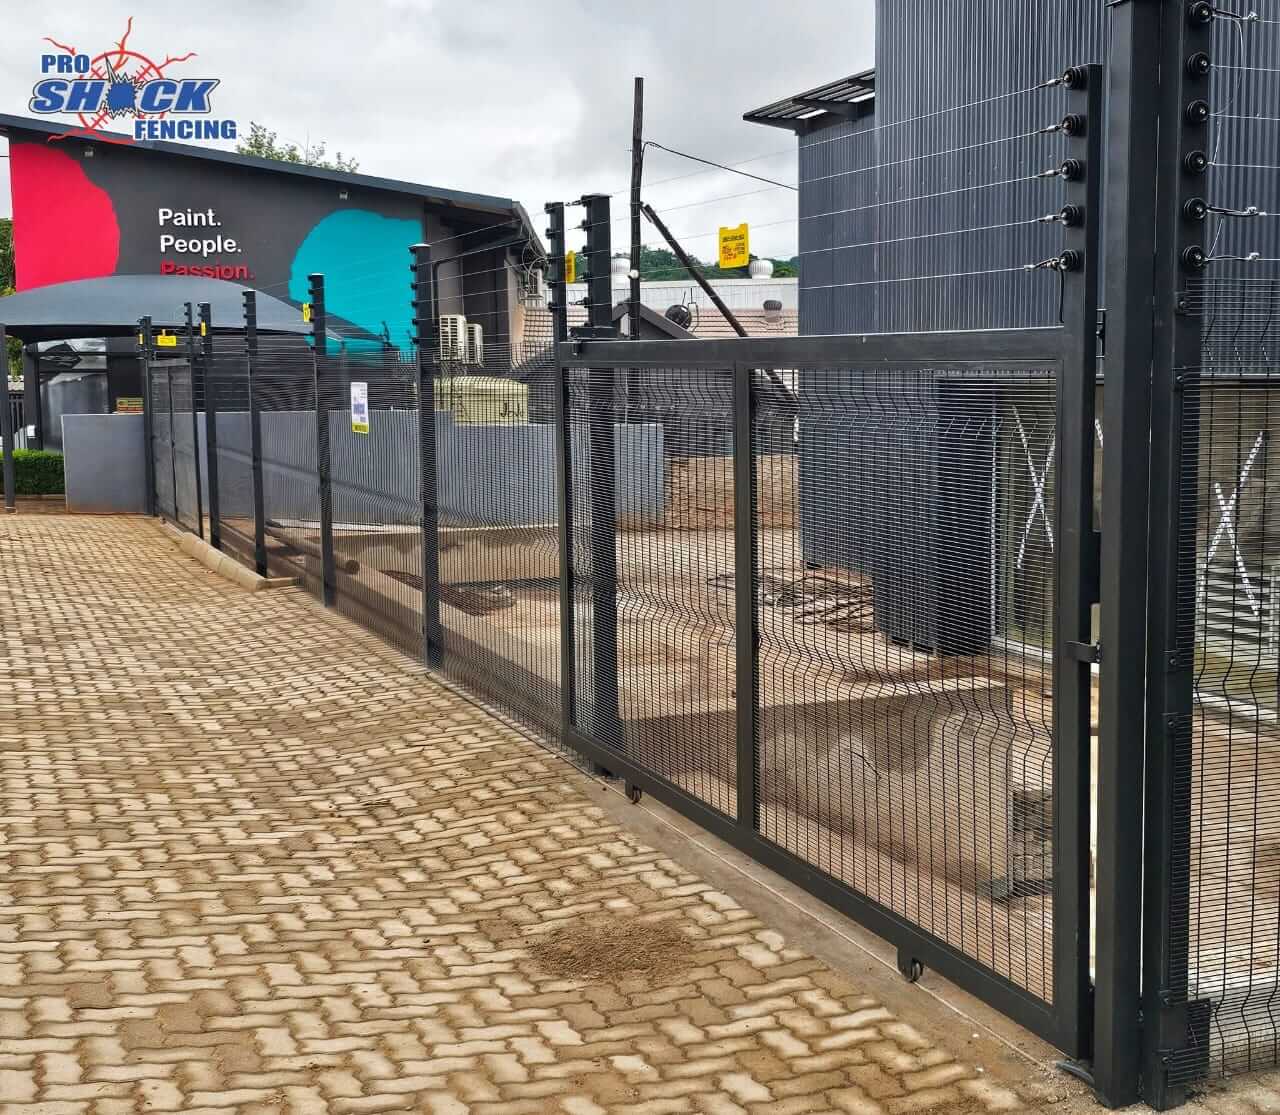
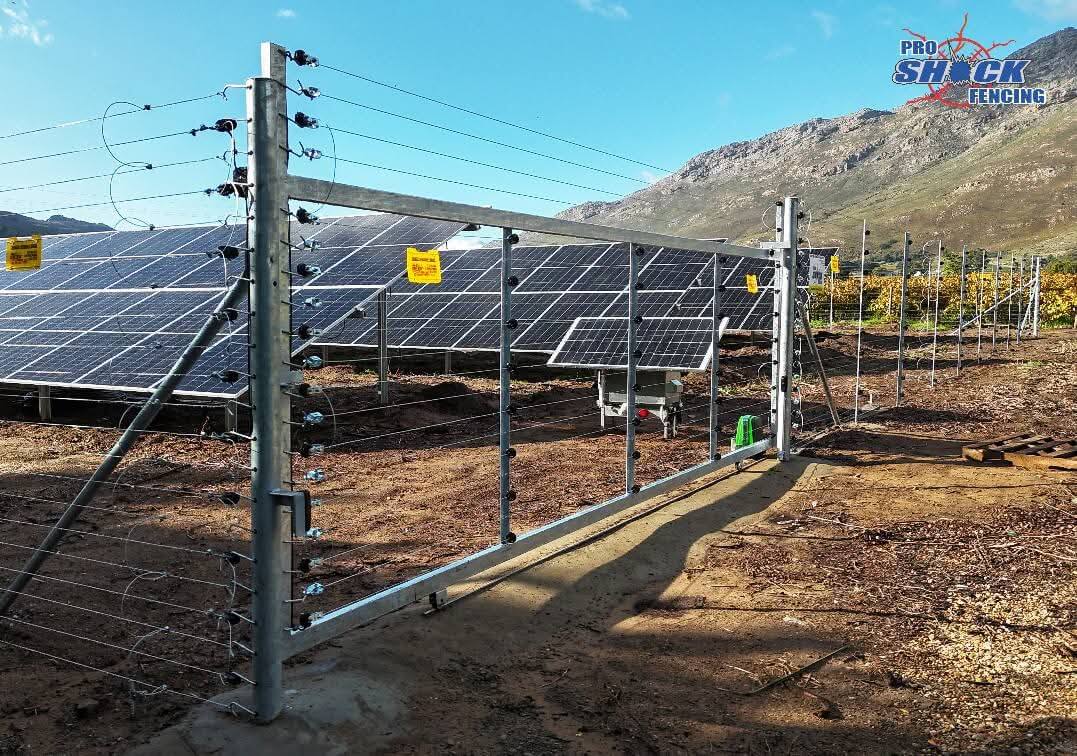
Leave a gate gap if needed (use insulated gate handles).
5. Connect the Energizer
Place the energizer in a weather-protected location.
Connect the fence wires and earth system correctly.
Test with an electric fence tester.
6. Install Earth Spikes
Drive earth spikes into the ground (at least 1.2m deep, spaced 2m apart).
Proper earthing ensures the fence delivers a consistent shock.
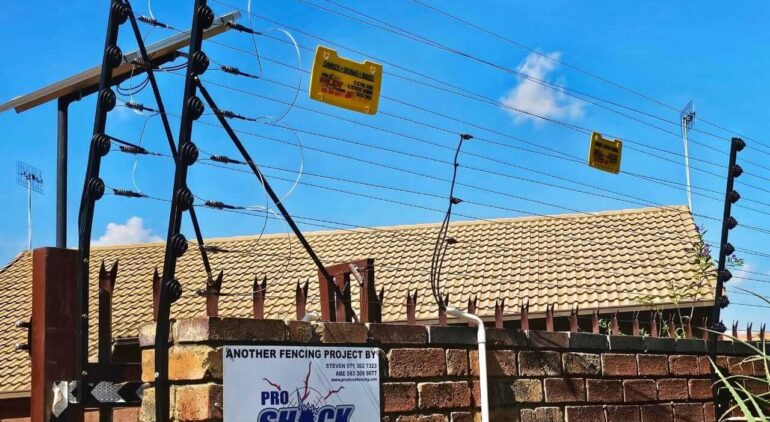
7. Add Warning Signs
Place warning signs every 10–30m on the fence (mandatory by law).
Signs must face both inside and outside the property.
Safety Tips
Never install an electric fence without proper earthing.
Keep energizers away from children’s reach.
Always follow local safety regulations.
Test your fence regularly.
DIY vs. Professional Installation
While electric fencing can be installed DIY, a Certificate of Compliance (COC) is mandatory in South Africa. Professional installation ensures compliance with safety standards and maximizes effectiveness.
At ProShock Fencing, we provide:
Expert installation with COC certification
Reliable maintenance services
Compliance with South African regulations
Conclusion
An electric fence is a smart investment in home and business security. With proper planning, installation, and maintenance, it can last for years while protecting your property effectively.
👉 Need professional help with your electric fencing? Contact ProShock Fencing today for a free consultation.